The term comping originates from the word composite. So it describes the act of creating a composite from multiple takes of recording. Be it acoustic or electric instruments or vocals. Choosing the best parts of alternate performances to create the perfect one for a recording that will hopefully be listened to over and over.
While this was always possible in Ableton Live, it wasn’t straightforward and quick as a procedure. Other DAWs already offered a fast and streamlined way for comping. This feature was finally added to Live 11, and although it can be used for what it was designed to do, there are a lot more things you can do with comping.
Six unique and imaginative ways to use comping are going to be covered in this video tutorial. Of course, there are many more options how you can use it. The ones I’m showcasing here are meant to serve as ideas and models. I have also included a few little-known or even undocumented features that work well when combined with comping to produce very creative results.
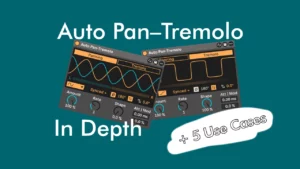
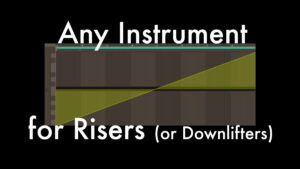
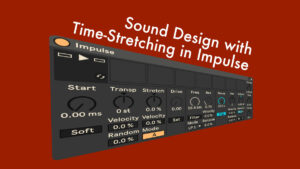
If you’re interested in more detailed explanations of how to use the first five features and use cases I’m presenting in the video, I’ve linked to the respective video tutorials below.
Chapters
00:00 Intro
00:32 Tonally Played Clips
03:09 Follow Actions
05:03 Mapped Clip Parameters
06:46 Generative MIDI
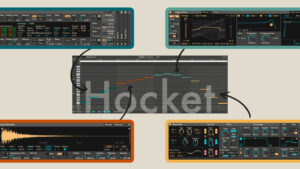
09:32 Hocket
12:18 Audio Effects Parameters
15:19 Outro
Please don’t hesitate to ask in the comments below if you have any questions concerning this tutorial. I’d also be interested to read, what inventive ways you’re using comping for. And of course, you’re also welcome to suggest any topics you’d like me to cover in a future video.

