This video tutorial will probably be most useful for live performances, but that doesn’t mean that the technique shown can’t also be used creatively in music production. The typical use case is if you’re a drummer with an electronic drum kit, or a controllerist using Ableton Push or a similar MIDI controller, who wants to be able to play a bass line alongside the drums live. Or if you’re someone who simply prefers to record as much of your tracks live as possible when producing.
The first method of playing melodies with a drum pad in a Drum Rack in Ableton Live that I show in this video requires Max for Live. So you need either Live Suite or another edition plus Max for Live. We’ll be using the free Max for Live device by Max for Cats called TriggerTune.
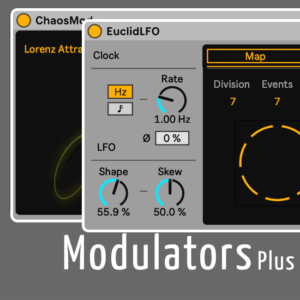
I also briefly mention Drum Articulate by Max for Cats, which also allows you to program a melody to be played with a single note. It has a lot of other features for advanced drum and rhythm programming and is available from my shop.
The second approach works with any Live edition starting with Lite. All we need is Simpler and the Random MIDI effect. We’ll also need to prepare and record the melody we’re going to step through note by note.
Watch the Video Tutorial
00:00 Intro
00:36 With the free Max for Live Device TriggerTune (Suite only)
03:05 With Drum Articulate by Max for Cats
03:47 With Simpler (Live Lite and up)
07:36 Outro
A Third Approach
Technically, there would be another way to do this that would work with any MIDI instrument, if it weren’t for the fact that the first note is triggered twice on the first pass, which seems to be a bug. If that doesn’t bother you, read on. I haven’t included it because the first note being repeated will probably rule this out as a viable solution for most people, but I’ll explain it here if you want to try it.
- Add an empty MIDI effect rack.
- Drop the Pitch effect in.
- Then duplicate the chain as many times as you have notes in your melody.
- You technically don’t need the Pitch in the first chain, so you can delete it again.
- Go through the other chains and set the Pitch of each in reference to the first note in your melody.
- Now click on Chain in the MIDI effect rack (in between Vel and Hide) to open up the Chain Select.
- Keep the chains this narrow, and just spread them out starting with 0. E.g., if you have 4 chains, they’ll be spread out from 0 to 3.
- Now right-click in the Chain Select Ruler area and map it to a macro.
- Go into the Macro Mapping Mode and limit the Max to the number of chains (e.g. 4 if 4).
- Add Expression Control to the same MIDI track.
- Map Incremental (Increment in Live 12) to the Chain Selector Macro of the MIDI effect rack.
- Set Shape to Linear.
- Set Amount to 127 divided by the amount of chains you have in the MIDI effect rack. E.g., 32 for 4 chains.
- Select both MIDI effect rack and Expression Control and drop both into the drum pad you want to use to play the melody with.
- In the Drum Rack, open up the In/Out section. Set the note under Play for the drum pad to the first note of your melody.
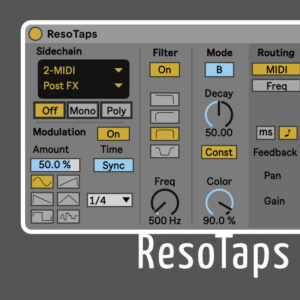
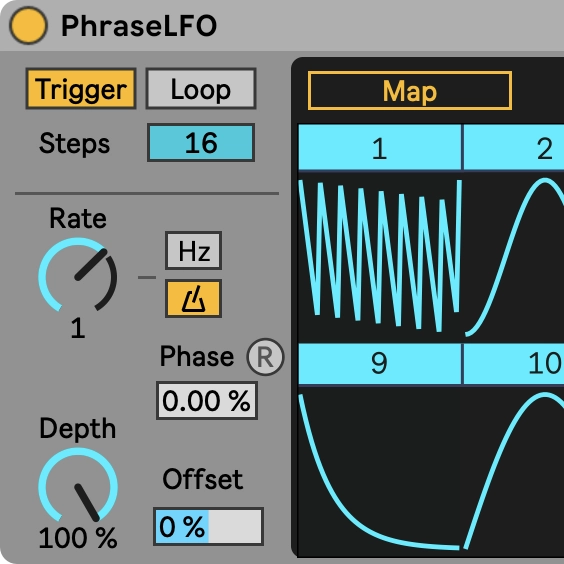
Max for Live Devices from the Video Tutorial
Related Tutorials
As always, feel free to leave me a comment below. Whether you just want to say thanks, ask a question to clarify something from the video tutorial, or even suggest another topic you’d like me to cover in the future.