Let’s say you like certain device presets a lot, but you need to tweak certain parameters to get the desired result. To save you valuable time, you can save your own presets.
- Once you’ve modified a preset to your liking, simply click the Save Preset button (floppy disk icon) in the top right of the device or device rack. This adds the preset to the device presets in the Device Browser of the Live Library.

- Type in a name for it and hit Return to save.
Or if you want to save presets into your chosen location and not the Library, e.g. the current Live Project or in dedicated folder, you can do the following:
- Open File Browser 1, 2 or 3 and navigate to the desired location.
- Now simply click the title bar of the device, drag and drop it into the respective Browser location.
- Type in a name and hit Return.

This works for all Live devices, be it instruments, audio or MIDI effects or any type of rack.
This tutorial is valid for Live 8 to 11.
Tutorial number one is Ableton Live Workflow Tips Part 1 – The Editing Grid. On to Ableton Live Workflow Tips Part 9 – Saving Default Clip Settings.









2 responses
Hallo,
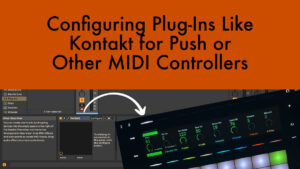
ich hab das jetzt schon xmal mit meiner Audio Unit – Sylenth probiert. Ich bestimme die Parameter mit Configure, dann sehe ich sie in Push. Und speicher das Ganze wie hier beschrieben. Wenn ich dann das Preset wieder öffne ist aber alles weg. Keine Parameter sind bestimmt! Es lässt sich nicht speichern…any ideas?
cheers felix
Das Tutorial gilt nur für Presets von Live Geräten. Presets von Plug-ins können üblicherweise innerhalb desselben gespeichert werden. Allerdings sind dann die gewünschten Parameter nicht konfiguriert. Entweder in ein Rack packen und die wichtigsten 8 Parameter mappen, oder über den Options.txt Trick automatisch die ersten 128 Parameter konfigurieren (nur für VSTs: https://sonicbloom.net/ableton-live-insider-tips-options-txt-part-3/).