This time I have an assortment of shortcuts that are really useful to speed up your workflow in Ableton Live. The shortcuts as well as what they actually are achieving is shown in animated GIFs. All shortcuts work in Live 11 and below.
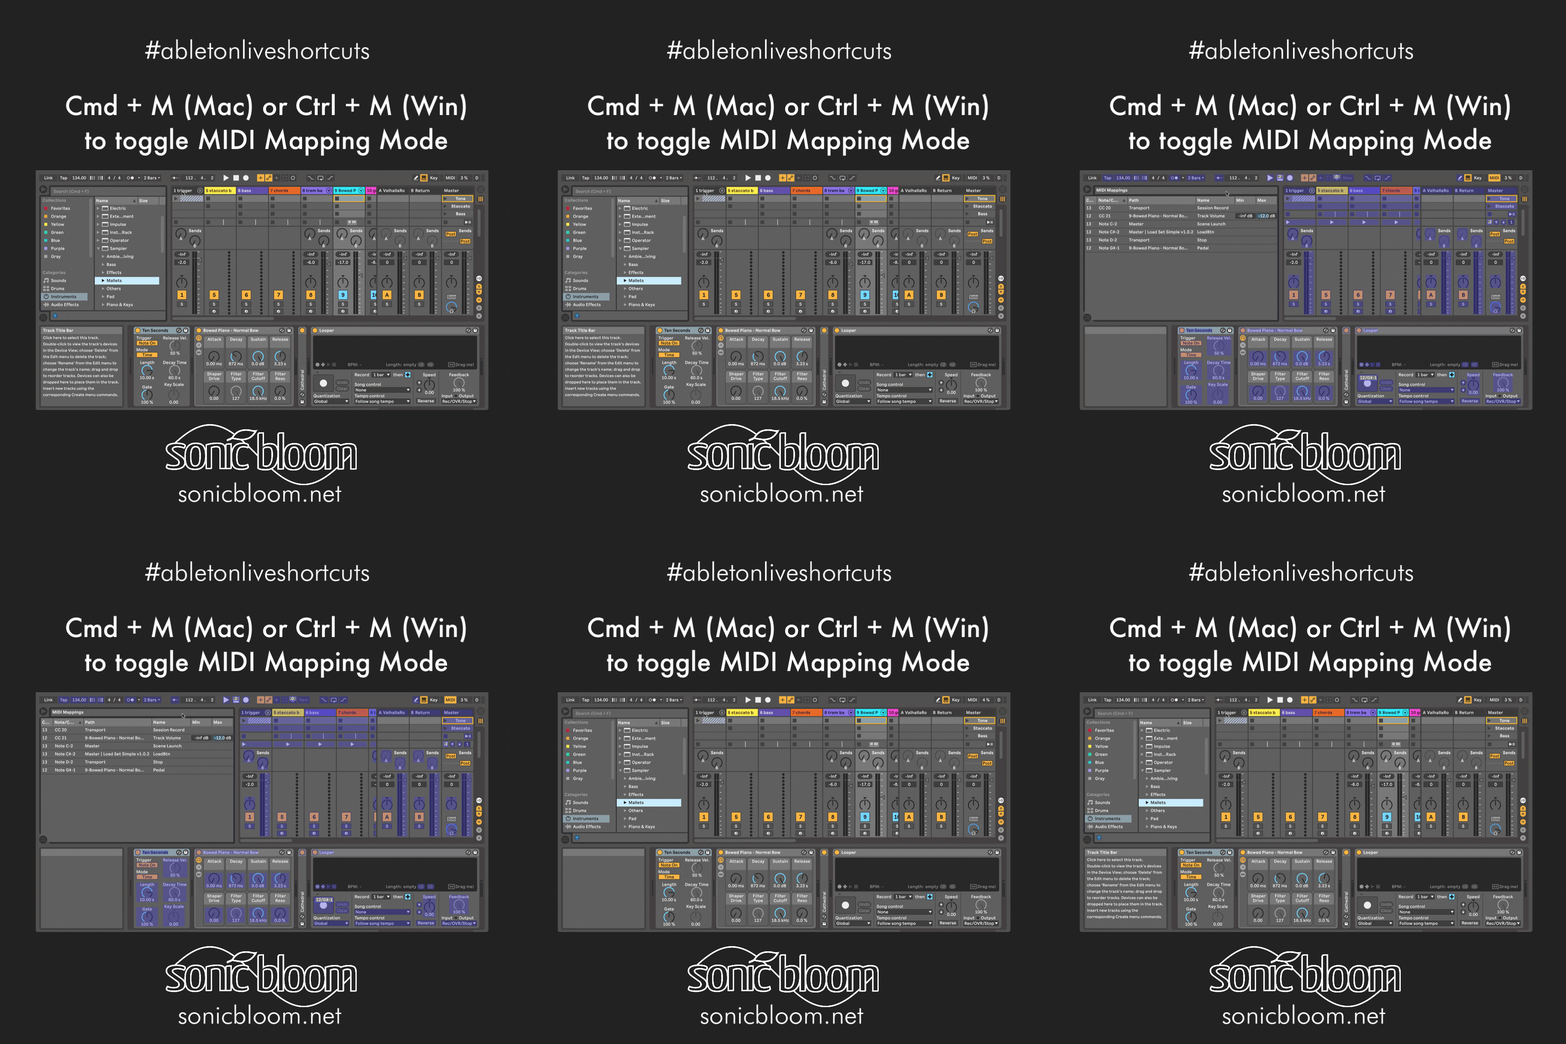
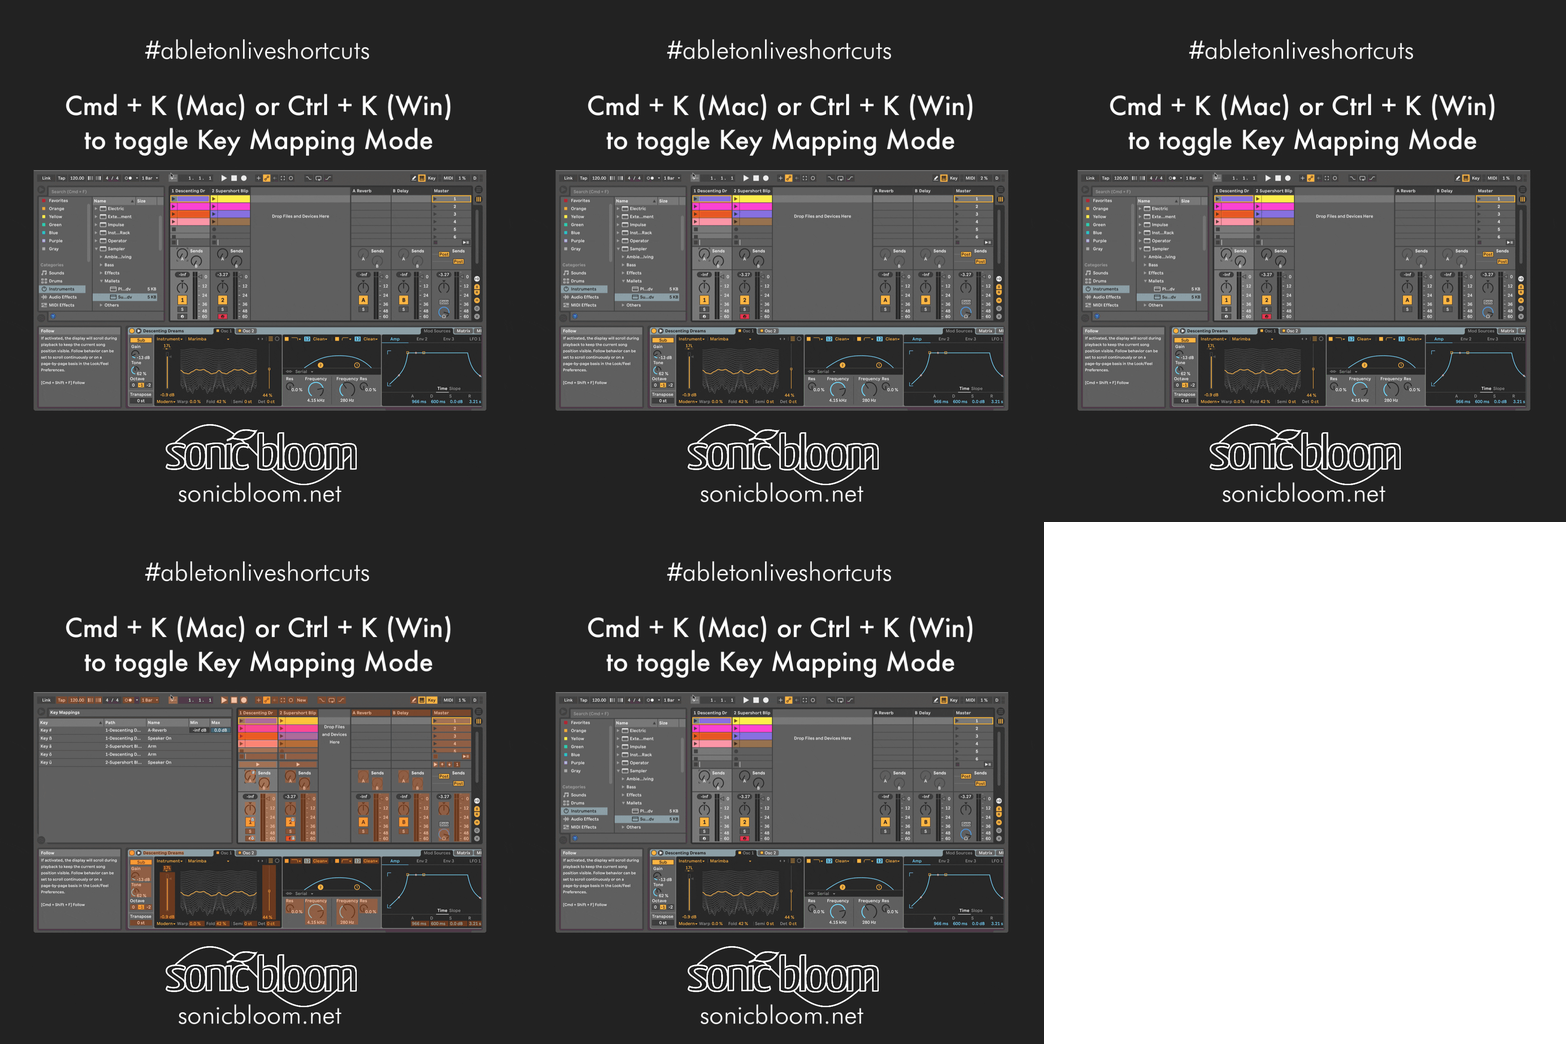
First up, we have the ones for MIDI and Key Mapping. The former is needed to manually map parameters in Live to your MIDI controller or MIDI keyboard. Key Mapping means that you can map parameters to your computer keyboard instead, which is rather handy when you don’t have a MIDI controller at all or with you.
Cmd + M (Mac) or Ctrl + M (Win) to toggle the MIDI Mapping Mode
Cmd + K (Mac) or Ctrl + K (Win) to toggle the Key Mapping Mode
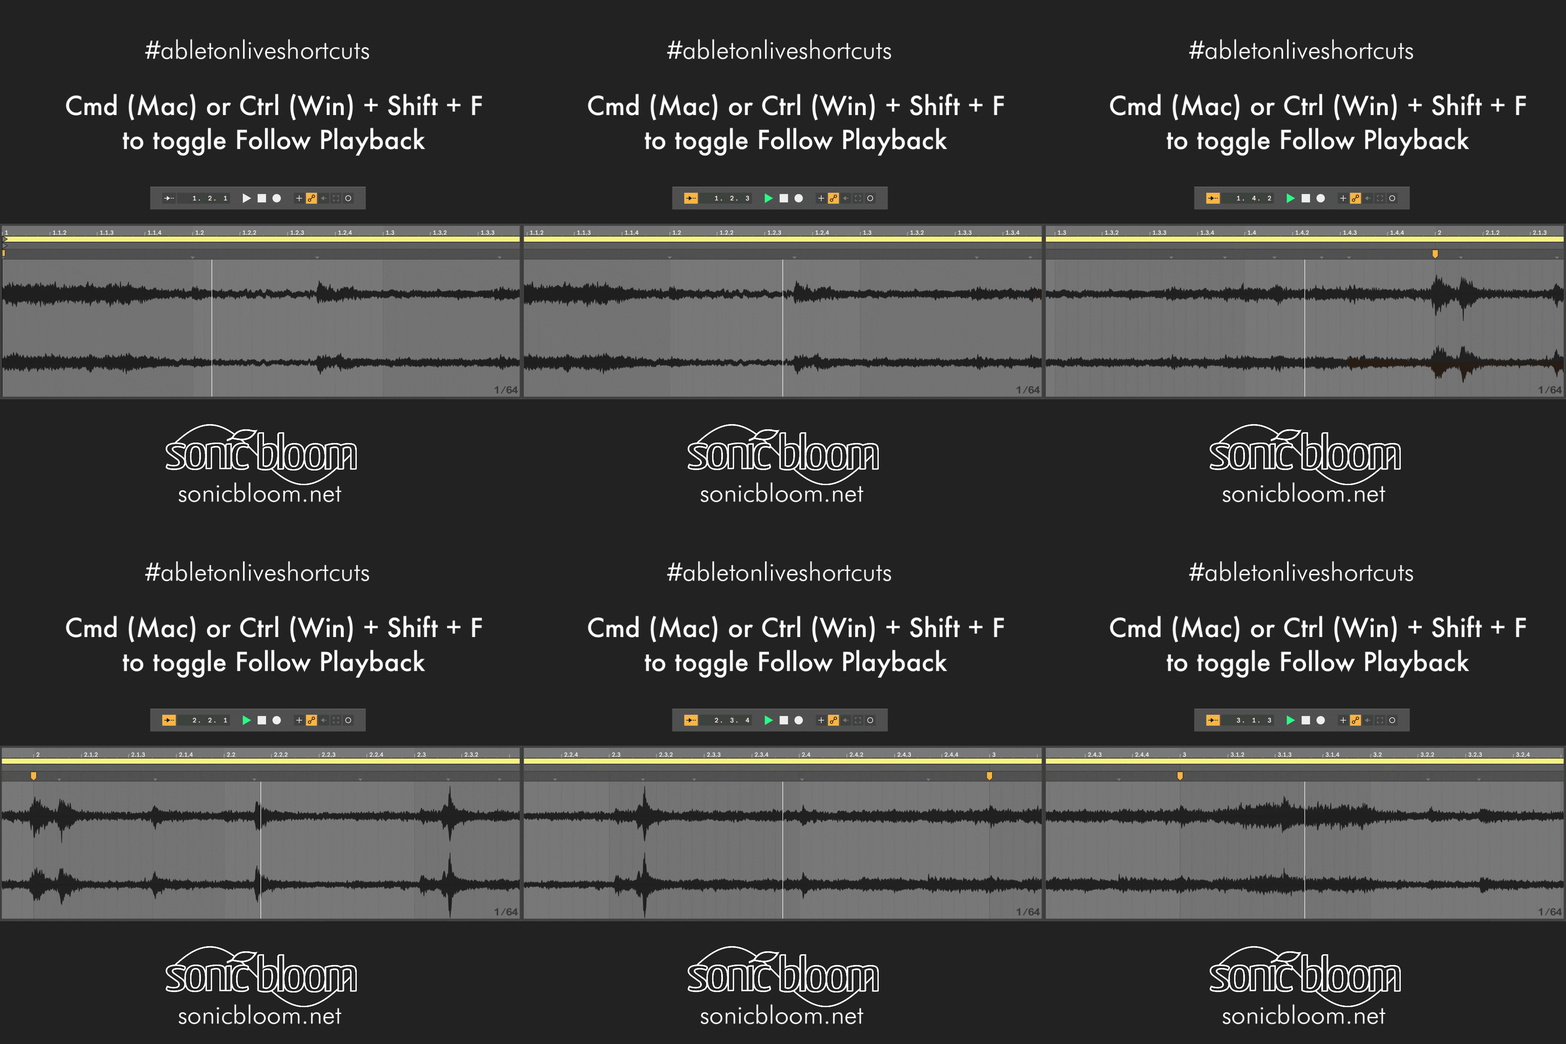
Cmd + Shift + F (Mac) or Ctrl + Shift + F (Win) to toggle Follow Playback on/off
Next up is the one to turn Follow Playback on or off. This means that in the Arrangement View, once the playback position is reaching the clips that are not visible, it keeps scrolling to always show what’s currently playing.
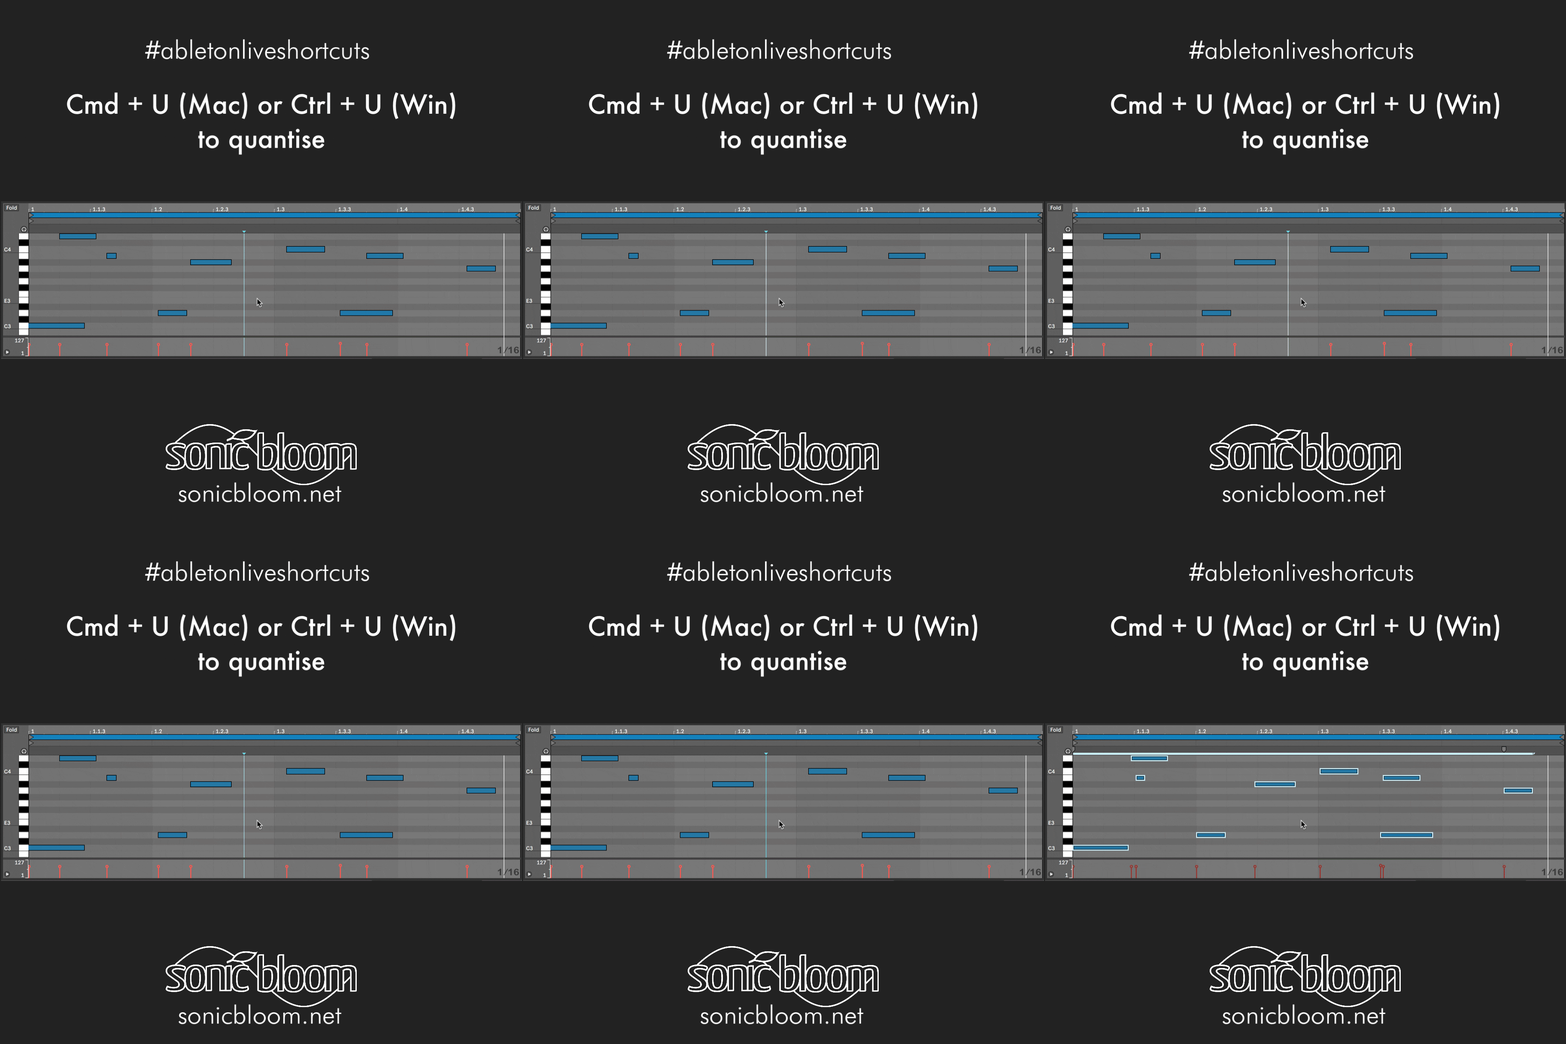
Last, but not least, we’ve got two shortcuts for quantisation, the process to make your played notes tighter in timing. The first one is to apply quantisation to the currently selected MIDI or audio clip, and the second one to open up the Quantise Settings in Ableton Live to allow you to make changes.
Cmd + U (Mac) or Ctrl + U (Win) to quantise MIDI or audio clips
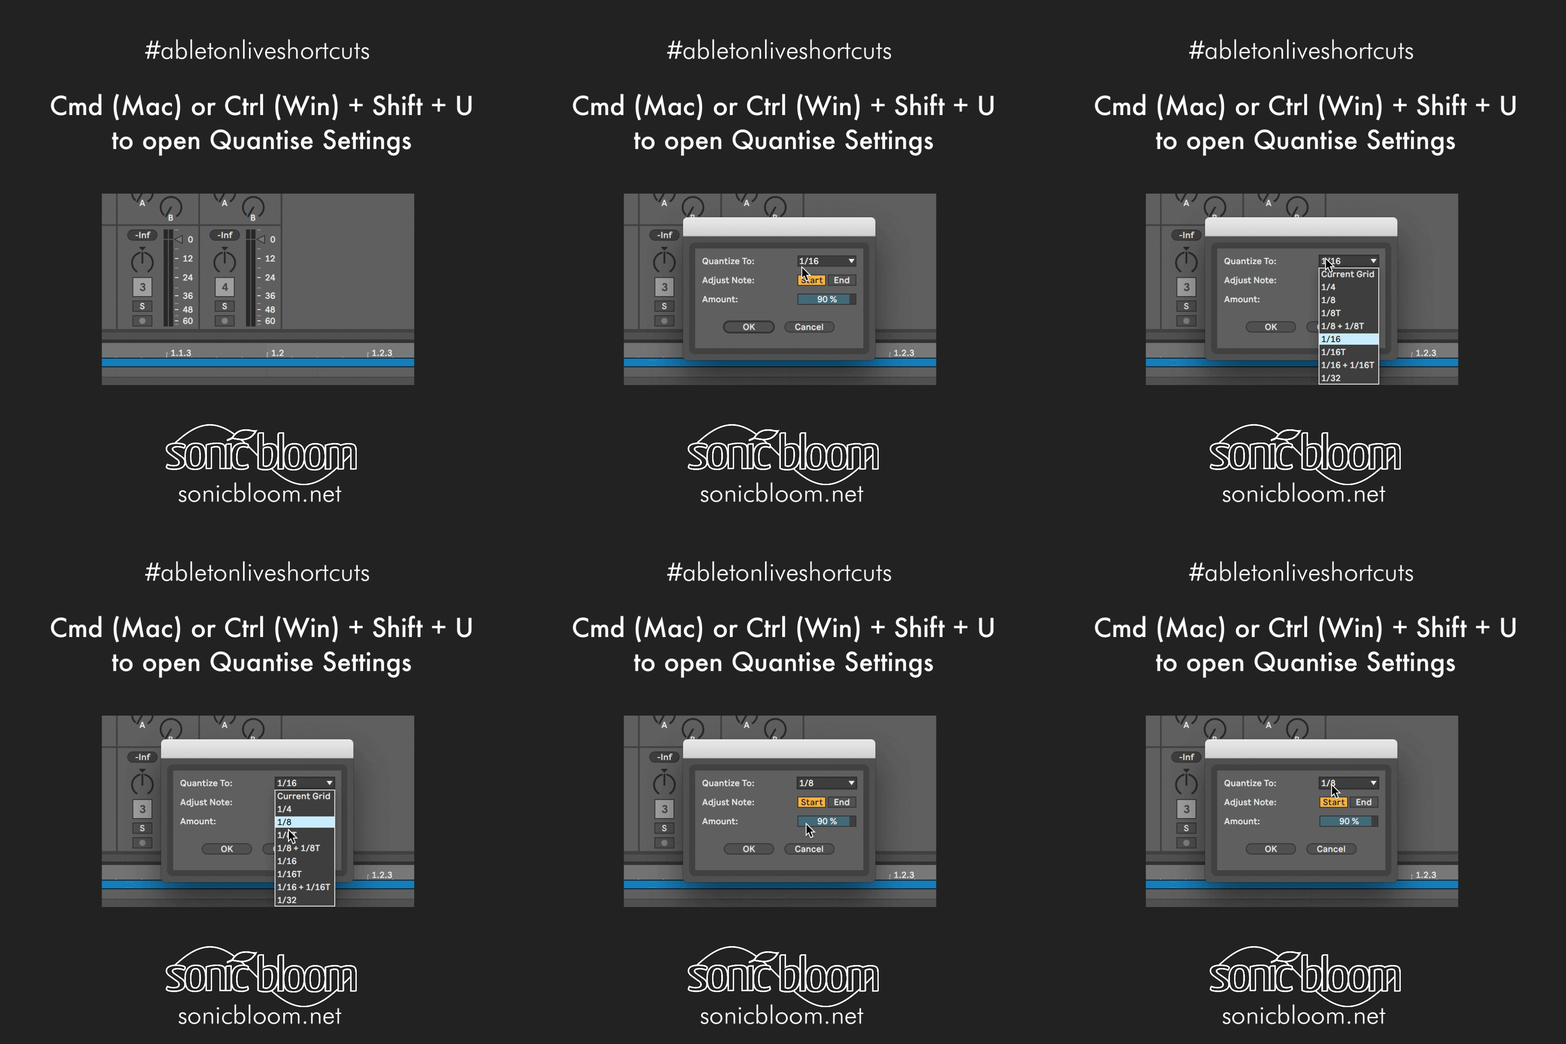
Cmd + Shift + U (Mac) or Ctrl + Shift + U (Win) to open the Quantise Settings
There are plenty more Ableton Live tutorials where this one came from.

